🌿 Complete Growing Guide
Grow Your Own Microgreens
Whether you're growing for your family or starting a small business, this guide covers everything I've learned — so you can skip the mistakes and start harvesting sooner.
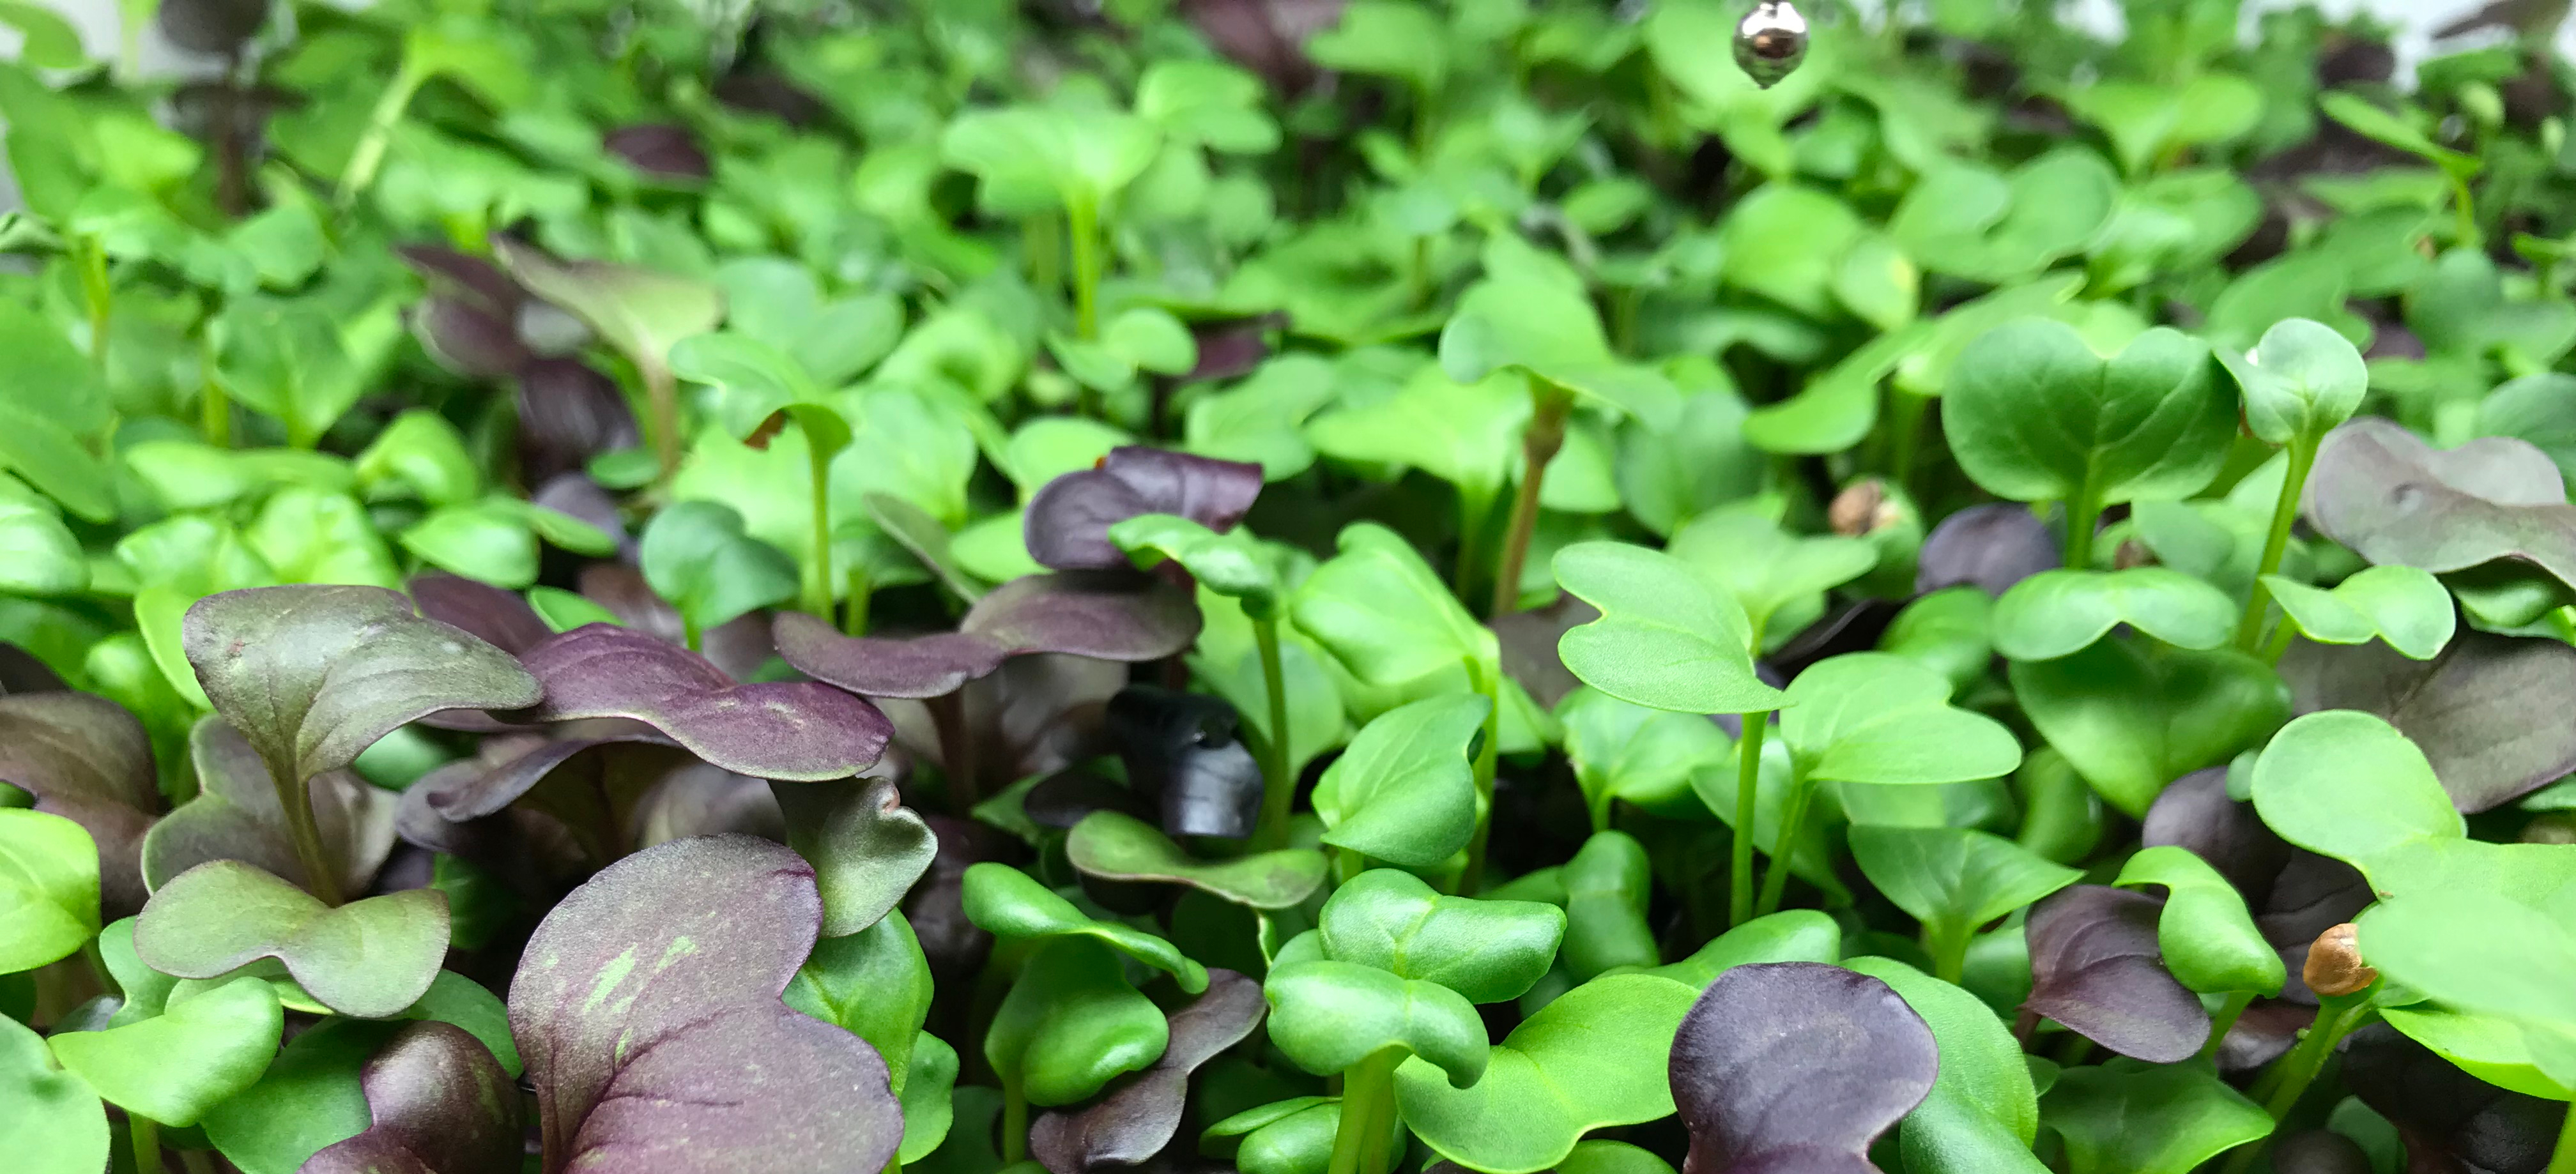
Trays on the grow rack — this could be you in a few weeks! 🌱
Enjoy the detailed write up below or visit Microgreens Master for a completely free course and software tools.
🎯 My Objective
My goal here is to share everything I know about growing microgreens — no fluff, just what actually works. Whether you're growing on a windowsill or building a business, I want to help you avoid the mistakes I made early on.
🤔 Should You Grow Microgreens?
Absolutely! Microgreens are one of the easiest and most rewarding crops to grow. They require minimal space, grow incredibly fast (most varieties in 7-14 days), and can be grown year-round indoors. Whether you have a spare closet or a full basement, you can start growing today.
From a business perspective, microgreens have excellent margins. The startup cost is low (under $500), the crop cycle is fast, and demand from restaurants, farmers markets, and health-conscious consumers continues to grow.
🏠 Preparation — A Microgreens Environment
Your growing environment is crucial. You'll need a space that allows you to control temperature, humidity, and light. A spare room, closet, garage, or basement all work well. Ideal temperature is 65-75°F (18-24°C).
Good airflow is essential — stagnant air leads to mold. A simple oscillating fan can make all the difference. You'll also want the space to be clean and free from contaminants.
🧰 Materials for Microgreens
Seeds
Quality, untreated, Non-GMO seeds from a trusted supplier like True Leaf Market.
Shelves / Racks
Wire shelving units are perfect — they allow airflow and can hold multiple trays in a small footprint.
Lights
LED grow lights or T5 fluorescent lights. 12-16 hours of light per day is ideal for most varieties.
Trays
Standard 10x20 nursery trays — both with and without drainage holes. You'll need both types.
Growing Medium
Coco coir is my top recommendation — lightweight, clean, and excellent water retention.
Fans
Small oscillating fans for air circulation to prevent mold and strengthen stems.
🌱 Let's Grow
Soak (if needed)
Some seeds like sunflower and pea benefit from 8-12 hours of soaking. Most small seeds (radish, broccoli, kale) don't need soaking.
Prepare Your Tray
Fill your tray with about 1 inch of moistened growing medium. Level it out and pack it lightly — you want a smooth, even surface.
Seed
Spread seeds evenly and densely across the surface. For most varieties, you want good coverage without excessive overlap.
Blackout Period
Cover the tray with another tray (with a small weight on top) for 3-5 days. This simulates being underground and encourages strong root development and stem elongation.
Uncover & Light
After the blackout period, uncover your tray and place it under your grow lights. You'll see pale yellow shoots that will quickly green up.
Grow & Harvest
Continue to water and provide light for another 3-7 days depending on the variety. Harvest when the first true leaves appear.
💧 Watering
Bottom watering is the preferred method for microgreens. This means adding water to the tray beneath your growing tray and letting the medium absorb moisture from below. This keeps the greens dry, which reduces mold risk and produces cleaner harvests.
Water once or twice a day depending on your environment. The growing medium should be consistently moist but never waterlogged. If you see standing water, you're overwatering.
✂️ Harvesting Microgreens
Harvest your microgreens by cutting the stems just above the soil line using sharp, clean scissors or a knife. Harvest when the first set of true leaves have developed — this is when flavor and nutrition are at their peak.
Most varieties are ready to harvest in 7-14 days from planting. The key is to harvest at the right time — too early and the yield is low, too late and the flavor becomes bitter.
📦 Packaging
If you're selling, packaging matters more than you think. Clamshell containers are the industry standard — they protect the greens, allow visibility, and stack well. Label with the variety name, harvest date, and your farm name.
For personal use, store freshly harvested greens in an open or loosely closed container in the refrigerator. They'll last 7-10 days when stored properly.
💰 Selling Microgreens
The three main channels for selling microgreens are: restaurants, farmers markets, and direct-to-consumer. Restaurants are the most consistent revenue source — chefs love microgreens for plating and flavor. Start by approaching local restaurants with samples.
Farmers markets are great for building your brand and connecting with customers. Direct-to-consumer through social media and local delivery can also be very profitable.
Price your microgreens based on your market, but typical retail prices range from $15-30 per 4oz clamshell, with wholesale prices around $10-20.
🌱 Ready to Take Your Growing to the Next Level?
Visit Microgreens Master for a completely free course, software tools, and a community of growers just like you.
Visit Microgreens Master →